

1. a dress for the elegant rag doll
She has needed one forever. I’m also getting a lot of joy from their palpable discomfort in this photo. He looks uncertain and she seems sort of less than impressed… The dress is part of an ensemble including bloomers and a bag and shawl. It will be the next sewing pattern released to be followed by the other circus animals this summer.


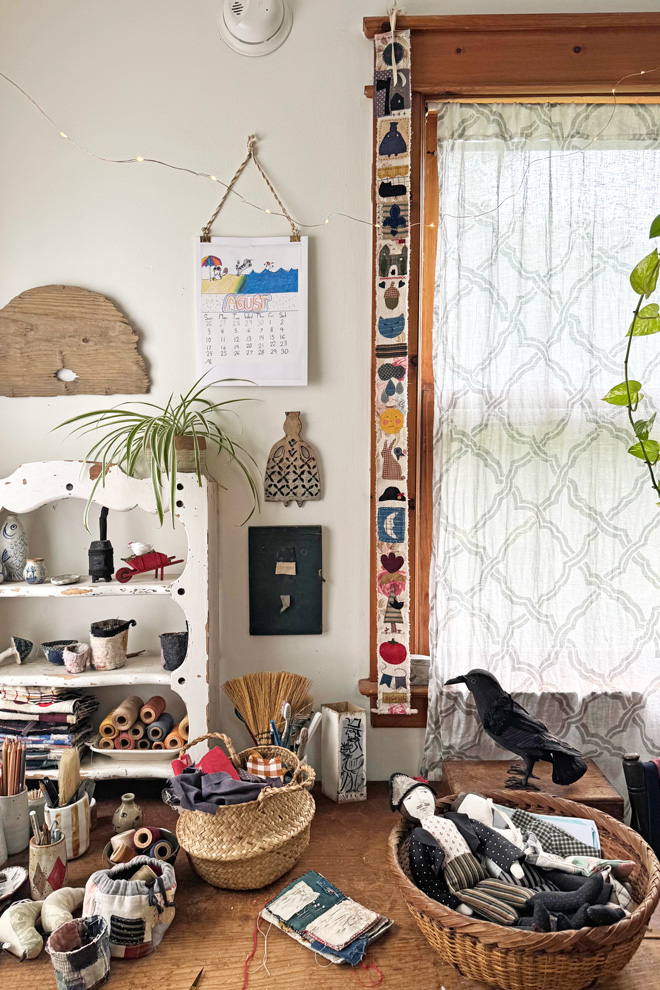
2. refreshed work table and lavender cleaner
The actual area available for work has been getting smaller and smaller. I’m so happy with my new expanse of space and it affects my thinking for sure. I also completely emptied the table and wiped it down with my signature lavender cleaner so it smells good too.

And the windows are finally open which is also pretty life changing. For the cleaner I use equal parts distilled water and cleaning strength vinegar and about 20 drops of lavender oil (my container is 16 oz). I use it for everything – so good. Also – according to the internet- lavender oil repels ticks so I put a little on my gardening boots. No idea if this works but it can’t hurt.

3. stitch book homestretch
100 days goes by so fast. Page 16 began yesterday (4/1). I’m definitely a process person (I’d rather be in it than through it) but I do get excited about seeing the book finished. Especially if it’s your first time doing the challenge, assembling all your pages has a magic effect. The book feels substantial. I’m starting to think about assembly but my page order is still a mystery to me.
I do plan on having raw edges again. If you want raw edged for your book follow the assembly instructions and at step 11 in the slot section place the wrong sides of the pages together. And again for the tab section in step 9 you place the wrong sides together.

4. birthday candle holders
It’s maximum joy. I’m thinking of quitting all my jobs and just making birthday candle holder animals for the rest of my life.
5. reader projects
I love seeing what you make! You can send me photos at ann @ ann wood handmade dot com or post on instagram and tag @annwood and use #annwoodpattern (the hashtag takes forever to show up so tagging me helps).
Find all the sewing patterns in the shop.

Bright mushrooms stitched by @inmyownimagination


Crow and blackbird stitched by @eroeboeroe2

Elegant rag doll by @marilinalittlecraft_handicraft


