
Greetings from the depths of winter. March and climatological spring (I’ll take it) start on Sunday. I’m so ready. Lets close out February with a look at what’s on my work table.

This blue guy was the first successful octopus attempt. He’s made from a super soft old drape I got in France a couple years ago. Half of it was dyed blue with woad. His legs have a light wire armature. I experimented with lots of different gauges of wire before I landed on what feels like the right amount of bendability. If it’s too stiff they lose that octopus melty quality.
I love their presence. They inhabited my living room as a native species. In short- they act like they own the joint.
I’m still in the woodshed with these guys – there is more to learn.


I made a few to celebrate Fortuny’s new collection Polpo.

ceramic owls and ornaments
Fresh from the kiln – the first little owl vessels. I’m so excited about these and there are lots more in the works. And I’ve got a bunch of rustic delft-ish ornaments too – houses, cats, fish, owls and fleur-de lis.

I’m putting together a shop update now for March – stay tuned.

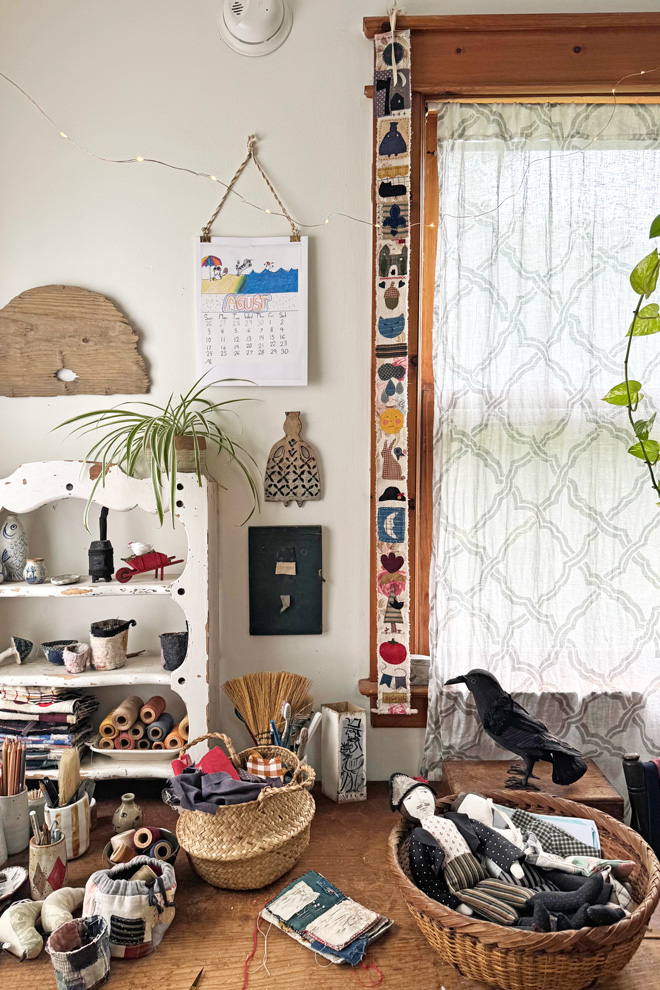
stitch book
Today is day 43! Of the 100 day stitch book challenge. And tomorrow – Saturday – finishes page 9. The halfway point is almost upon us. It’s going by too fast. I’ll go on and on about this in the next blog post. The page above is page 8. I started with a folk arty shape that’s been appearing in my experiments for a while. She has turned up in paintings, ceramics, and in the stitched scroll.

*This post contains an affiliate link – meaning I get a small commission if you purchase through the link – marked with an asrerisk.
journal stickers
Perfect for your correspondence or journal or calendar. Punctuate your ideas with a reclining asparagus spear or strolling fish. I’m in my third year of using an old school day planner – still the *Hobonichi Techno. I love using these stickers to dress up my to do list and calendar and notes. The day planner works super well for me as a functional thing but there is also an element of delight and the stickers add to that. They’re made from imagery taken from 7 plus years of daily paintings. There are more sets in the works including a miss thistle collection.


Also from the painting department – I’m trying to find joy in the snow…
“If you choose not to find joy in the snow, you will have less joy in your life but still the same amount of snow”


