
“Inspiration exists, but it has to find you working,”
Pablo Picasso
Boom. That’s it. That ‘s the reason for showing up for this (entirely doable) 100 day discipline.
Don’t wait for ideas. Don’t wait until you feel like it. Make the time, make the space and show up and listen to yourself.
Listening to yourself is a skill. Getting unstuck requires strategy. Ideas need a place to show up. Daily practice makes that space. Keeping the practice small puts it firmly in the doable zone. Your ability to listen to yourself grows in those conditions.
That is what this challenge is about: intentionally creating an environment for creative growth.
Committing to a do-able assignment and applying small consistent effort is as close to a magic formula as there is for growing creatively and getting unstuck.
will you join us for the 2026 challenge?
To set yourself up for success on day one- Jan 16th – take some easy actions now. Download your checklist here. Then begin with the overview here.

Community helps too. Accountability, feedback, support and fellowship. All that human stuff.
You don’t need to join stitch club to participate in the challenge but it does offer the aforementioned benefits plus:
New this year – optional page prompts! If you’re feeling unsure about getting started this can be the perfect approach. Your work will still be entirely self directed but the prompts can get your wheels turning. Also, it does not have to be either/or – you can choose which prompts to use and which to skip.
Also new this year – The membership will close on January 20th. It will remain closed for the duration of the challenge.
stitch club membership is open
What happens in stitch club? It’s the private ann wood handmade community, a great place to get inspired, share what you’re working on and make sewy friends.


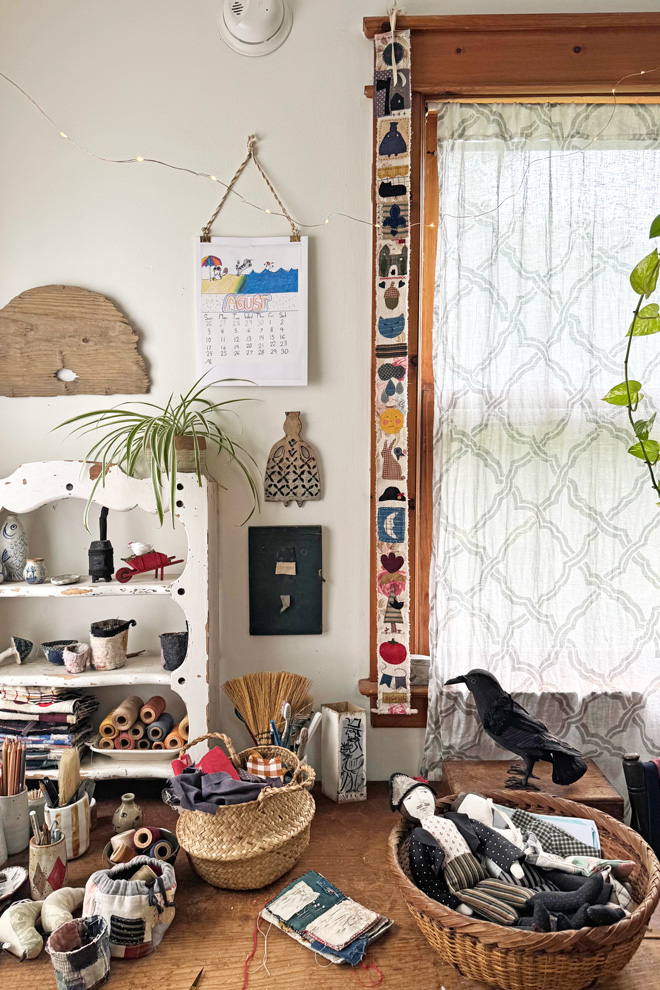
If you’ve visited here before you already know that I’m a cheerleader for daily practice. I’ve just begun year 8! of a painting everyday. My ideas show up in those paintings and in the stitch book. The stitch book form has been so productive that I added similar smaller challenges to stitch club: the summer scroll and fall stitch journal. We wrapped up the fall journal in December and I’m thinking about page order and assembly now.

I approached the stitching the same way I approach the 100 day book – improvisational, yes and, see what turns up.
stitch book challenge 2026 begins 1/16 and ends 4/25
Daily practice does not always feel good. For me it is the best of days and the worst of days. The bad days are part of the good days though and that is inescapable. It’s the habit I protect and this mantra gets me through the bad days:
“Reduce the scope, stick to the schedule “
James Clear
I protect the habit because it’s easier to keep going than to start. I protect it because it supports my momentum. And I protect it because I am most creative within structure.
I’ve gathered some ideas and lessons learned from the previous years to help you get ready.

thinking of the pages in pairs
Totally optional but I have loved having a second chance at compositions by treating 2 pages as one image/idea in previous book. I mostly did not work on the two pages consecutively. When I wasn’t happy with what I’d done, putting the idea aside and letting it percolate helped a lot.
I’m also leaning towards leaving my edges raw again.

Support the 100 day stitch book project and the always growing free pattern library.
make it easy
Make it easy to show up. Have your materials accessible and transportable. 15 minutes is even more doable if everything is already set up.
plan for the bad days
This is so important. There will be some bad days. Some too busy or sick or too something days. The secret to those days is a predetermined, minimally acceptable effort.
Protect the habit
protect the momentum and do something.
and if you do miss a day?
Keep going. Maybe do an extra 15 minutes when you can.
warm up
Putting things in a box is a great way to begin.
I’m putting things in a box now and I’ll be back on the 16th with some ideas and encouragement.

Will you join me in 100 days of stitching? Are you a stitch book veteran or thinking about diving in for the first time? Let us know in the comments.
onward!
ann


