

Orange slice ornaments are in the oven – 2 weeks later than planned or at the exact right moment…
I’m deeply immersed with a lot of very ambitious last minute Christmas project ideas, it smells like white pine and orange peel, the stick trees are up and it’s snowing the exact right amount.
All the work things are done (at last!) and the coziness here is deep, twinkly and particular.

let’s talk about stick tree number one
An elephant and monkey are merrily attending the base and there’s a happy cat on top this year. The tree is made from several sticks bundled together and wrapped with a fabric scrap. The skirt is a bit of an old crazy quilt.

The whole thing lists significantly to the left and is festooned with:
snowmen in bad moods
jingle stars
a sleepy moon
minimalist chicken
little owl
sheep
scrap trees
and wax paper snowflakes
I wish I had some flies – maybe I’ll add that to the last minute list.

I do like my holiday decor just slightly off kilter – like these cardboard castles with austere little windows. The creature that may or may not be a cat is by my brilliant friends at Codo Experiment. The white pine branches were obtained legally and definitely not in my annual december crime spree under the cover of darkness.

and stick tree number two
Branches in a vase filled with pennies for stability (pebbles or sand work too) The ornaments are the ghosts of Christmas past- my mom’s treasures that sleep the rest of the year in the crumpled tissue she wrapped them in. The big paper star on top is made with the wax paper snowflake method but in vintage paper and tin foil.

My plan for the day is to smell the smells and make the things and bask in the twinkle. I hope you are similarly situated and your holidays are merry and bright!
PS
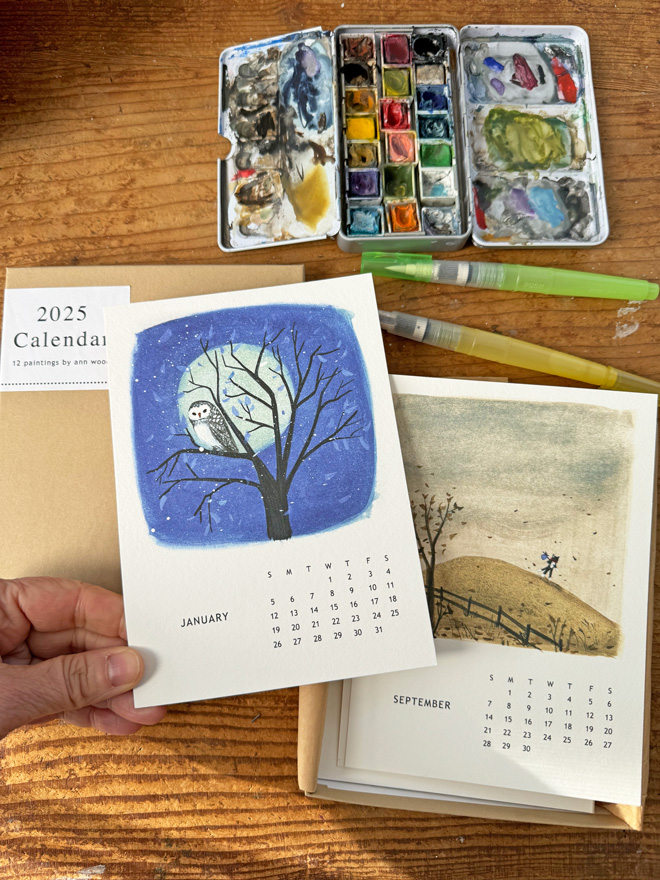
After the holiday break we have lots to talk about – most importantly the 2025 100 day stitch book!


 (click the image for a larger view)


