
The very first iteration of the tiny rag doll appeared a very long time ago. I still have her. She was made to inhabit the doll house that was the center of my world. I remember every object in that little house in complete detail.

The second iteration appeared 11 years ago while I was feeling around for something:
“I have lots of ideas for dolls … traditional, contemporary and ideas in experimental directions. As I started to play with the idea of dolls there was an insistent desire to make a one that my 11 year old self would have loved. A tiny doll with layers of fancy unmentionables under her gown. To have the fun of dressing her, to indulge in tinyness and nostalgia. I got lost in it. All the while feeling – more of this please.
I love her like you love a doll, an odd little doll.”
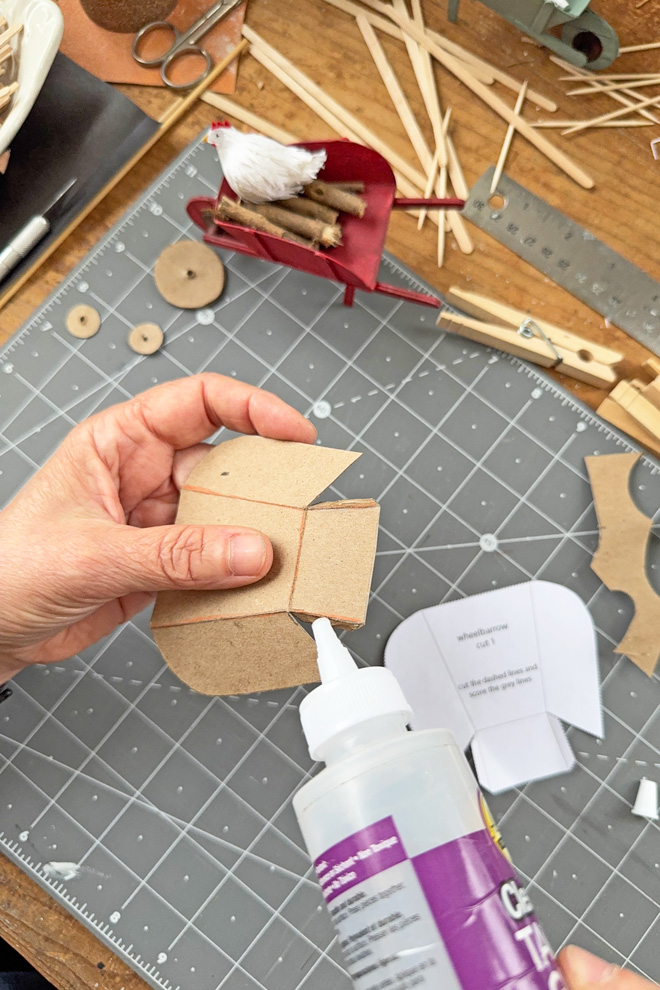
The tiny rag doll pattern is 10 years old! There are lots of tiny dolls all over the world and she even has chickens and a wheelbarrow now. Plus lots of other accessories you can make on the miss thistle society page.


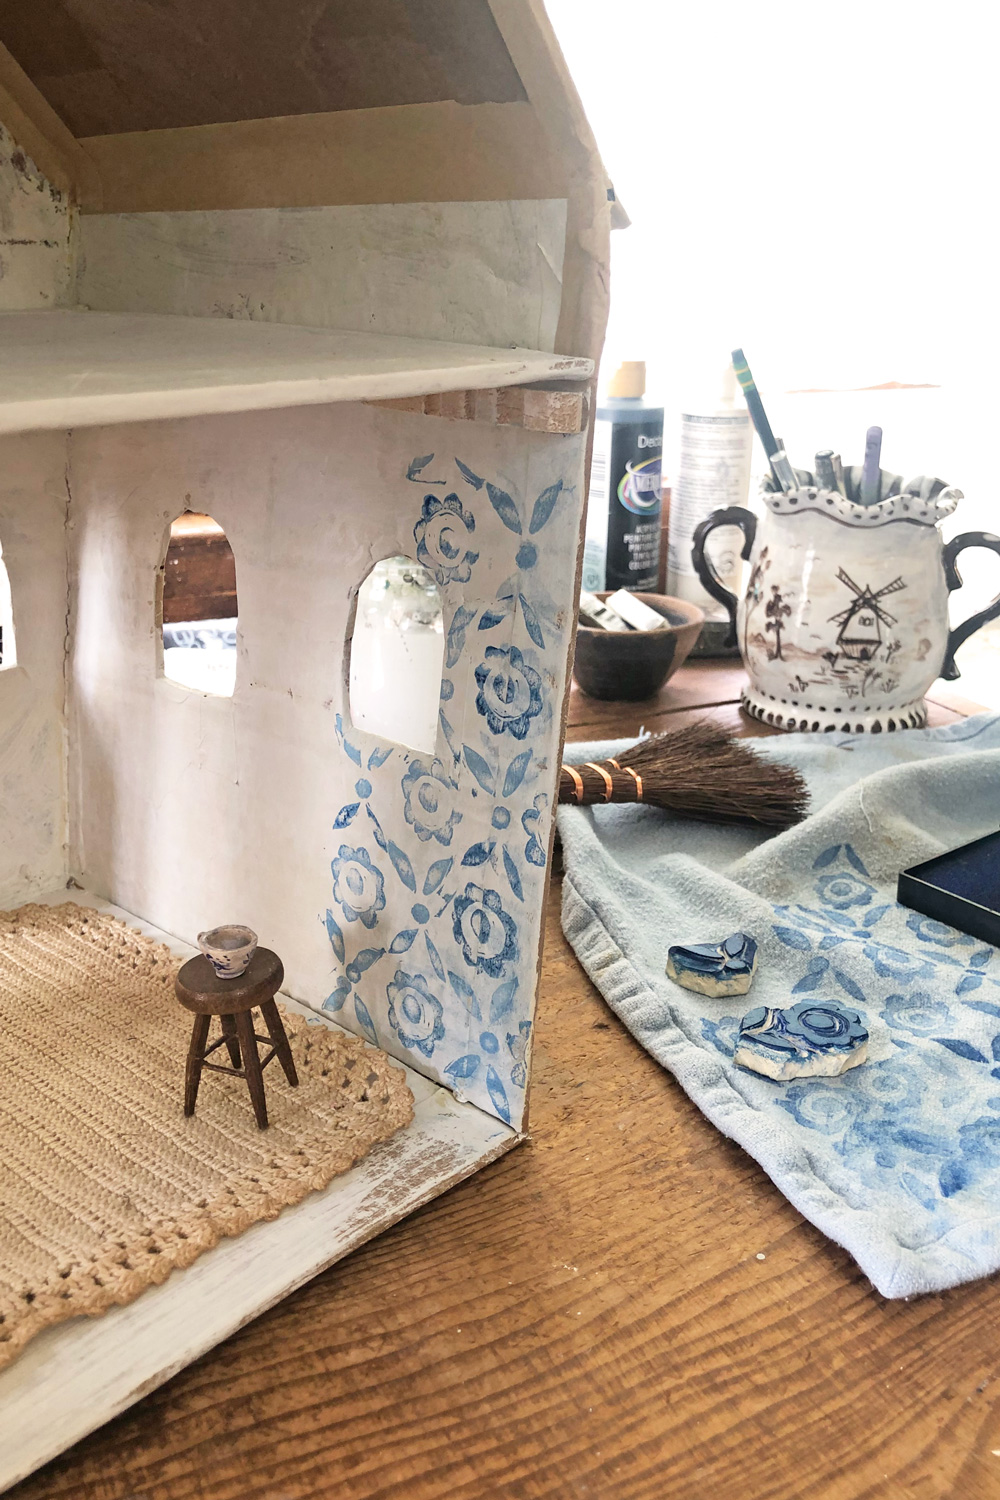
And she has an eternally in progress cardboard house. You can find the house measurements and tips for building your own here. A couple standout ideas are twigs for curtain hardware and clothes pins for floor support.


And don’t miss the tiny dish tutorial. The teacup handle is my 3rd greatest gift to humanity.
checkout some sweet tiny doll projects by customers:


Doll camp site by Heather, tiny rag doll by Catherine, , another by Katie, doll bed by Eve, more dolls by Rachel and a bundled up doll by Heatherandthepugs.
the garden report

I scattered a bunch of wild flower seeds last year that that did not appear until this year- It’s been a rolling series of surprises since May. Plus bachelor buttons! That the bunnies somehow missed.

and pole beans
The climbing amazes me every time – the world truly is magic. Anxiously awaiting flowers…
I’m super happy with the stick trellis and it is apparently pole bean apporved. It was free and fun to make. I love any project that starts with wandering around looking for excellent sticks. The keys to success were sturdy sticks and burying them deeply for stability.


