The tufted titmouse sew-along begins today! What’s a sew-along? Everybody works on the same project at the same time and shares images if they feel like it. That’s pretty much it. You can share your images on instagram using #annwoodpattern or in the facebook sew-along group or join stitch club- the ann wood handmade community.
We are using the songbird sewing pattern.
Today we’ll get into the steps for making the tuft – the defining feature- and a couple body details. First let’s talk about some other tufted titmouse features to consider:
- the beak is smallish, black, short and symmetrical
- the eyes are black
- the tail is pretty short
- the dominant colors are snowy white, soft grays, a little black and there is an orange patch on its flanks.
Make the bird body from snowy white fabric. For the tuft, wings, feathers etc. you’ll need a little black, a couple shades of gray and maybe some orange (more on that below). All the fabric should be light weight. It’s also handy to have a fine black sharpie.
download the tuft templates

1. Make your bird in white and add a little black beak. Pro tip – make a few beaks and pick the one that feels just right for your bird,
-

- 2.

-

- 3.

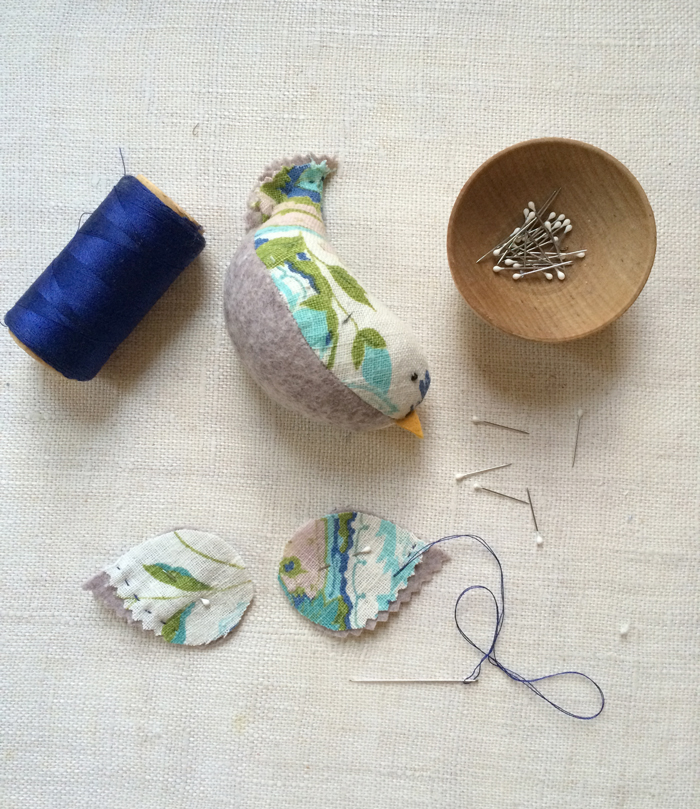
2. Mark the center tail 3/4 inch from the edge.
3. Trim to a point and stitch closed.
-

- 4.

-

- 5.

4. Cut out the crest and head cover pieces from gray and the little beak tuft from black. If you’ve made the cardinal this process is mostly the same with a couple details adjusted
5. Use the head cover template for the tufted titmouse. Pin and then whip stitch it in place.
-

- 6.

-

- 7.

6. Fold the pointed end of the crest 1 piece.
7. Pin in to the top of the head and stitch around the edge.
-

- 8.

-

- 9.

8. At the back stitch the sides of the opening together – just at the base.
9. Pin the crest 2 piece the same way – on top of crest 1 and stitch around the edge. Again – at the back stitch the sides of the opening together – just at the base. Feel free to stop adding layers here if 2 feels like enough for you – or – carry on with layer 3.

10. Add the third crest piece.