
September is National Sewing Month! I didn’t even make that up – it’s completely real. Thanks Ronald Reagan.
Let’s make a long pin cushion. Or a couple. It’s a perfect way to celebrate National Sewing Month and I’ve been meaning to make one for ages. Just right for the front of the sewing machine and great as a pattern weight, it’s stuffed with crushed walnut shells. I love them. You can find them in big bags at most pet supply stores (not a good idea if you have a nut allergy though). You could use wool stuffing (packed really firmly) as an alternative.

This is also a great project to experiment with raw edge patchwork. I love it when I see it but I have a had a hard time getting myself to do it. Not neatly folding those edges under feels like breaking a rule but I’ve been messing around with it lately on some jeans and a super old and worn quilt and liking the results.

Back to the pincushion
I took a meandering approach to adding my patchwork, a pleasant afternoon on the couch with piles of scraps adding little bits of fabric. The lack of planning invites all sorts of happy accidents. This is a great project to do with friends and a low pressure project for a beginner.

For the pincushion you will need:
- 6 X 11.5 inch piece of tightly woven fabric
- scraps for patches
- basic sewing kit
- embroidery thread
- filling – crushed walnut shells are ideal
- small funnel
-

-
1.
-

-
2.
1. Gather some scraps for patches. I sorted mine into piles for two pincushions – the one in warm pinks at the top of this post and another in berry-ish and indigo shades that I’m demonstrating with.
2. Cut and pin on a couple scraps and start sewing. You can stitch around or through or whatever you like. I’m using embroidery thread and a little sashiko thread.

3. Notice I kept most of the interest toward the middle of my base fabric, the seam will be on the bottom so this will be the most visible part. And in a bold move I used some bright red thread. I love the contrast with the cool colors.
-

-
4.
-

-
5.
4. When you’re done patching fold it in half, right sides together, carefully matching the edges. Sew the long side seam with a 1/4 inch seam allowance.
5. Press the tube with the seam in the middle. Press the seam open.
-

-
6.
-

-
7.
6. Sew one end closed – also 1/4 inch seam allowance.
7. Turn the tube right side out – a chopstick or similar helps for pushing out the corners.

8. Put a box or bowl or dish under you to catch spills. Insert the funnel and add the crushed walnut shells a little at a time. Tap the bottom and push the shells down to completely and firmly fill the tube.
-

-
9.
-

-
10.
9. Fill the tube to about one inch from the top. Optional – a little wool or cotton on top helps the fill not spill while your closing the tube.
10. Fold in the edges and stitch closed.

I love it. It’s an awesome pin cushion and an excellent weapon if things get weird. I hope you make one!

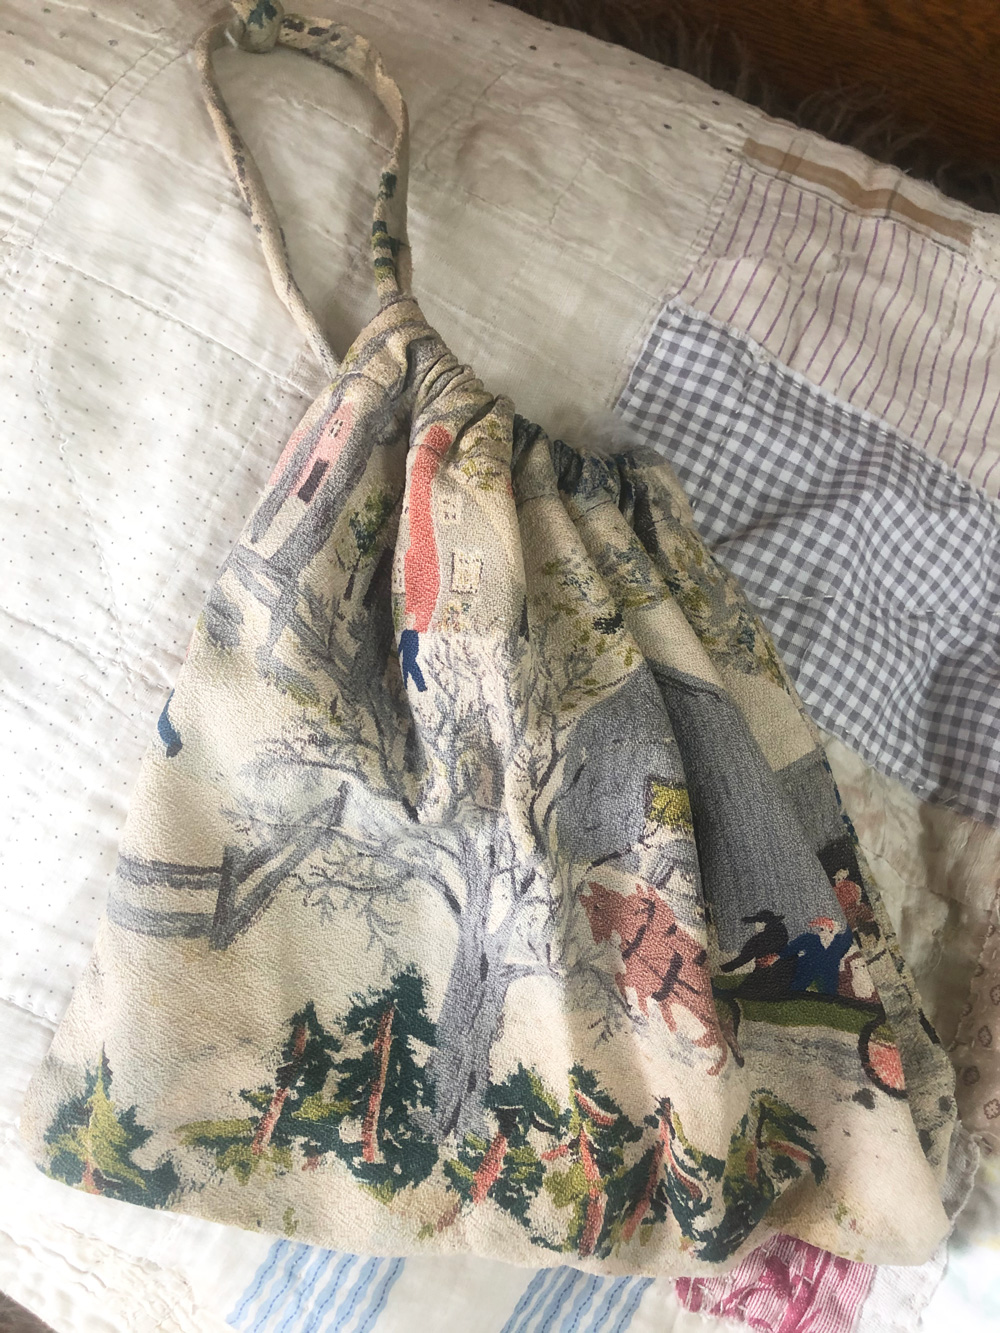
P S- In honor of national sewing month, my first sewing memory : standing next to my mother as she sewed this little draw string bag for me, made from grandma moses barkcloth, on the machine above. I must have been about 4.
What’s your first sewing memory? Did you start young? Happy National Sewing month!


