

I’m just back from France where we made stitched vessels and scrolls. Both would make excellent summer travel projects. We took our vessels a step further with embroidery and I love the line over the variegated background or as an edging detail.


We also created scrolls as mini travel journals. The scroll is perfect as a slow stitch project for summer. And it’s a great way to test drive daily practice – just do a few minutes each day. We are about to embark on the second annual summer scroll in stitch club.

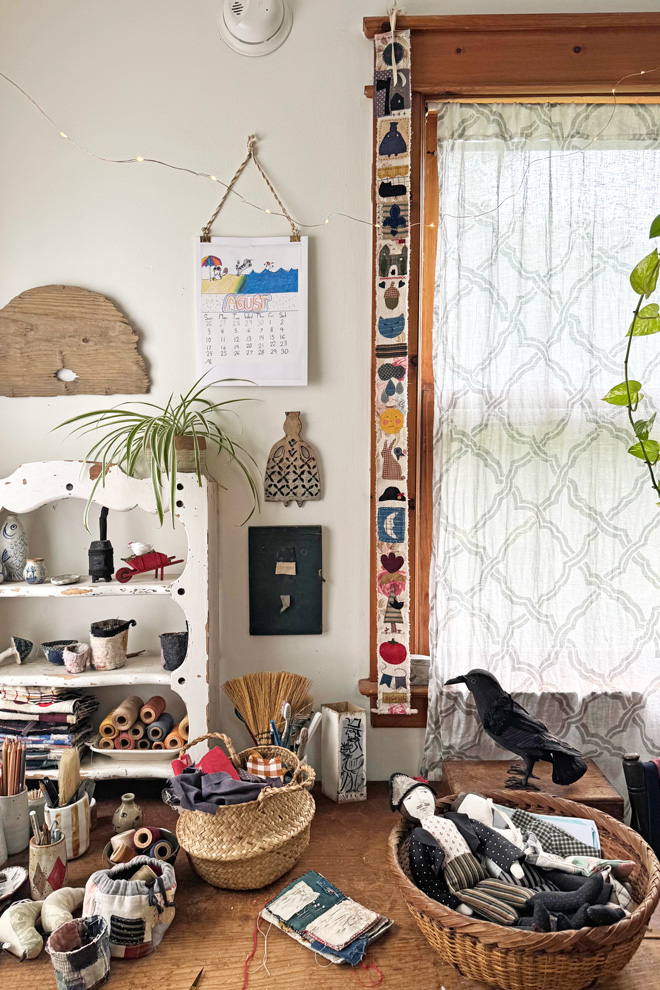
If you’d like to make one it’s super simple to start – just cut (or tear) a strip of fabric (linen is great ) and stitch a little every day. I used a strip about 2 and 1/2 inches wide and a yard long. I like to tear linen for the soft raw edge. You can add more length as you go if you like. The size is perfect for summer, it fits in your pocket. You can add a stick for rolling it on or just hem the edge. Stitch every day – june 1st – august 31st – to fill your scroll. Checkout my finished scroll from last summer here.
What should you stitch? Let it be improvisational. Look for inspiration in your day – what did you see? Was it sunny or rainy? What bloomed in your garden etc. etc.

France delivered lots of inspiration and ideas including goats. They seemed to be around every corner. I love their expressive faces and mysterious quality. They are turning up in my sketchbook and paintings and have me thinking about a goat doll pattern I abandoned ages ago.
Speaking of paintings- I have not had a daily painting sale in a very long time! I’m getting them ready for the shop now and planning on Thursday 6/4 – noonish eastern time. Stay tuned.

Happy Juvenile Raven season!
It’s a thing I love about late spring in Guilford. And it’s a robust year – there must be a nest very near by. The young ravens are pretty full sized but still being cared for and fed by their mother. They have not figured out their call (or anything else) yet and let out extremely loud humany sounding screams all the time. Beginning at about 6AM… If you’re curious you can learn more about it here.
the first summer special- 25% off the crow (or raven) pattern sale ends 6/30

well that’s depressing
You may have seen some weird and obviously AI generated videos advertising the crow and owl patterns on facebook and instagram. It’s not me. They are made by a Chinese company that steals patterns. There’s not much I can do about it. I sell my patterns on Etsy and here at ann wood handmade. That’s it. The theft has been going on for a long time and it’s always been difficult to fight. The AI part makes it nearly impossible. I’m trying anyway though.
It’s super disappointing and frustrating and I may go on and on about it in a future post.

surprise bouquet
On a cheerier note – I guess things self seeded last year and I came home to a patch of blue flax and other flowers I was not expecting. The first bouquet of the year is such a nice surprise.
PS – What I’m reading – I missed Larry McMurtry! I’ve just stared Streets of Laredo
PPS – I’m significantly behind on correspondence! And apologies if you’re waiting to hear back from me. My computer died suddenly right after I arrived in France ( logic board – I should have seen it coming). Anyway I’m finally back up and running with a new one. Major disruption though…


