

It is time to make all the little things, the little gift and ornament things. It is officially time. For those of you less procrastinatey than me it is way past time, I know you are out there, you organized types who start in June. Maybe I’ll turn over a new leaf this year, I would love to be done making my Christmas stuff by Thanksgiving.


Today I’m making very little squirrels, and thoughtful whales. This squirrel is just the right size for somebody’s pocket. He looks very happy in there.
get the forest folk pattern

He is a relentlessly happy little fellow.

For most of my small creatures I make the eyes the same way, a disorganized little cluster of stitches (you can see how I hide my knots here). On wool I use embroidery thread so it shows but on cotton I like the subtlety of sewing thread. And I find the less I think about the placement of the stitches the better, the more expressive the eyes turn out. This little whale has things on his mind.


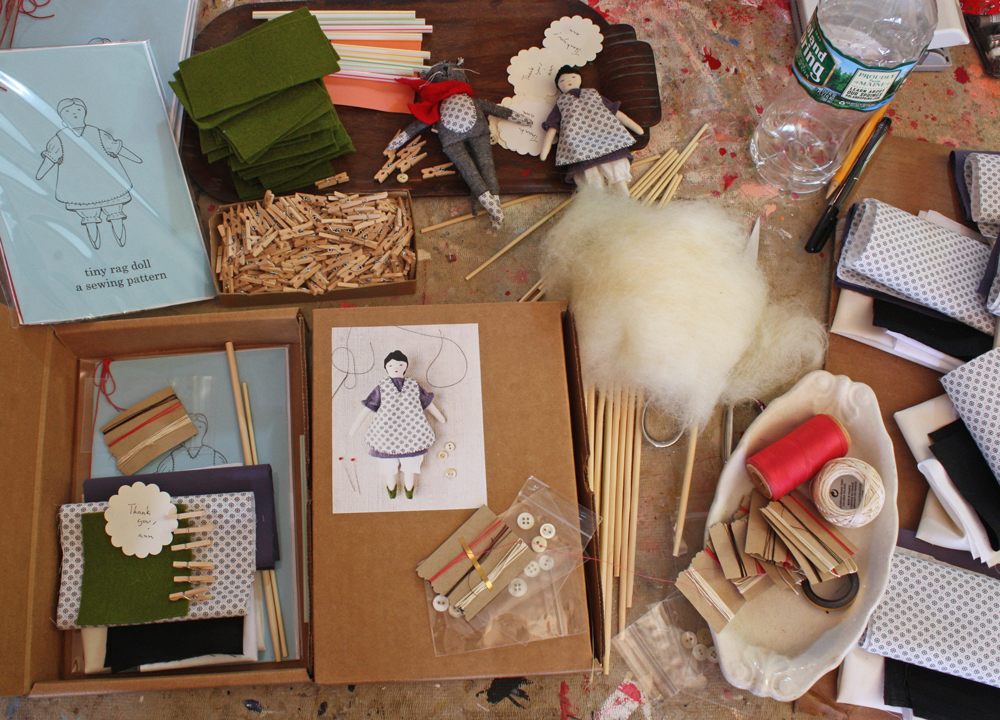
I stuff all the little folks and creatures with the loveliest wool stuffing. I spend a lot of time stuffing things, getting it just right and almost always fine tune the shape from the outside with a big needle.

Have you tried wool stuffing? it is all I use and I’ve added it to the shop in 4 ounce packs – that’s enough wool for lots of little creatures.
Are you sewing for the holidays? What’s on your worktable?


